Showing posts with label flower. Show all posts

Saturday, April 07, 2018

One Artist's "Creative Habit" Seminar Experience

There are so many good blog authors writing about technique, composition, color, and subject matter that I often wonder what I might add to the mix. In this post, and a few future posts, I will be sharing an experience that turned out to be quite enriching to my personal growth.

I recently attended an eight week seminar to engage with the book The Creative Habit by Twyla Tharp. For those who do not know, Twyla Tharp is a successful choreographer.

Her book is dense with information and ideas; it also includes exercises after each chapter, and I'd like to share a few of the aha moments I experienced as a result of these exercises. The seminar included 6 attendees and one participating leader. Most of us are visual artists, but we also had a dancer, and an art instructor for young children. This mix added even more to this seminar - I'll share a few of the best moments in future posts.

One of the exercises (after Chapter 3) is to write a Creative Biography. This has a list of questions that I am actually still working through to completion. However, the early questions went like this:

1. What is the first creative moment you remember?
2. Was anyone there to witness or appreciate it?

I instantly remembered sitting at the kitchen table when I was about 5 years old doing a finger painting. It was a vivid memory with my parents busy with other things and I just loved the sensation of smooshing the paint with my hands all around the paper. No one actually made a big deal out of and and I don't recall that it was saved and mounted on the refrigerator like many of you might  remember doing as a kid to display some important creation. Nevertheless, it stuck with me all these years.

I decided to do another one shortly after the session without any idea what it might look like. I just let stream of consciousness take over. I squeezed and spread some color onto the paper, and scraped with my fingernail to make the drawing. It is not a very sophisticated image, but it connected me to the same feeling of pleasure I remembered all those many, many years ago.

Revisiting the Past in the Present
R. Campagna
© 2018

The image I finger painted as a six year old was of my family, but this one is just me, flowers, the sun, and a goose! I looked up the symbolism of a goose since I had no conscious insights about this choice of imagery, but after reading the symbolism associated with the goose, it totally fits my personal tendencies, and I bet I can tell you a story or two around it!! 😊

In my next post I'll share a moment of revelation from another past experience that caused a life long challenge.

I would encourage anyone interested in self discovery regarding your creative inclinations to do the exercises in Twyla Tharp's book. It was/is inspiring!! 😍
'
'


Wednesday, March 04, 2015

Back to Oil Painting Basics...

During the past several weeks I've purged every thought/idea that popped into my head without judgment. Just hacking around. I had a blast doing that... however, I decided to get back to basics. The steps described may seem boring to some folks, but when you love something, it is also for the love of the process. 

I started my painting with an instructor (Ron Lukas - in Ballard, WA) back in the 80's. He was from the Russian Impressionist tradition. This study was after a 4 year degree in art. The painting interest has always been with me, but it was hard to find anyone in my area who could teach me the technical skills along with an intelligent understanding of what I was doing! Ron was better at teaching what I wanted to know so I studied with him for a couple years once a week in a group setting.

Ron would do demos at quite a fast pace, and I remember asking myself how does he do that? His brush strokes looked like jewels! I had no clue how he decided on color mixtures, because they clearly didn't match the objects he was painting. And so it goes for every clueless beginning student of painting...

First came the value studies in black and white that I still do to this day. I love it! ;o)
Then came some basic still life in color, and then painting from a live model. I thought everything looked ugly. ;o( Mixing color O-M-G what was I doing???

Filbert brushes are all I used... so I decided to just get back to basics that Ron taught me using a palette similar, but a little different... and a little more in the traditional style.

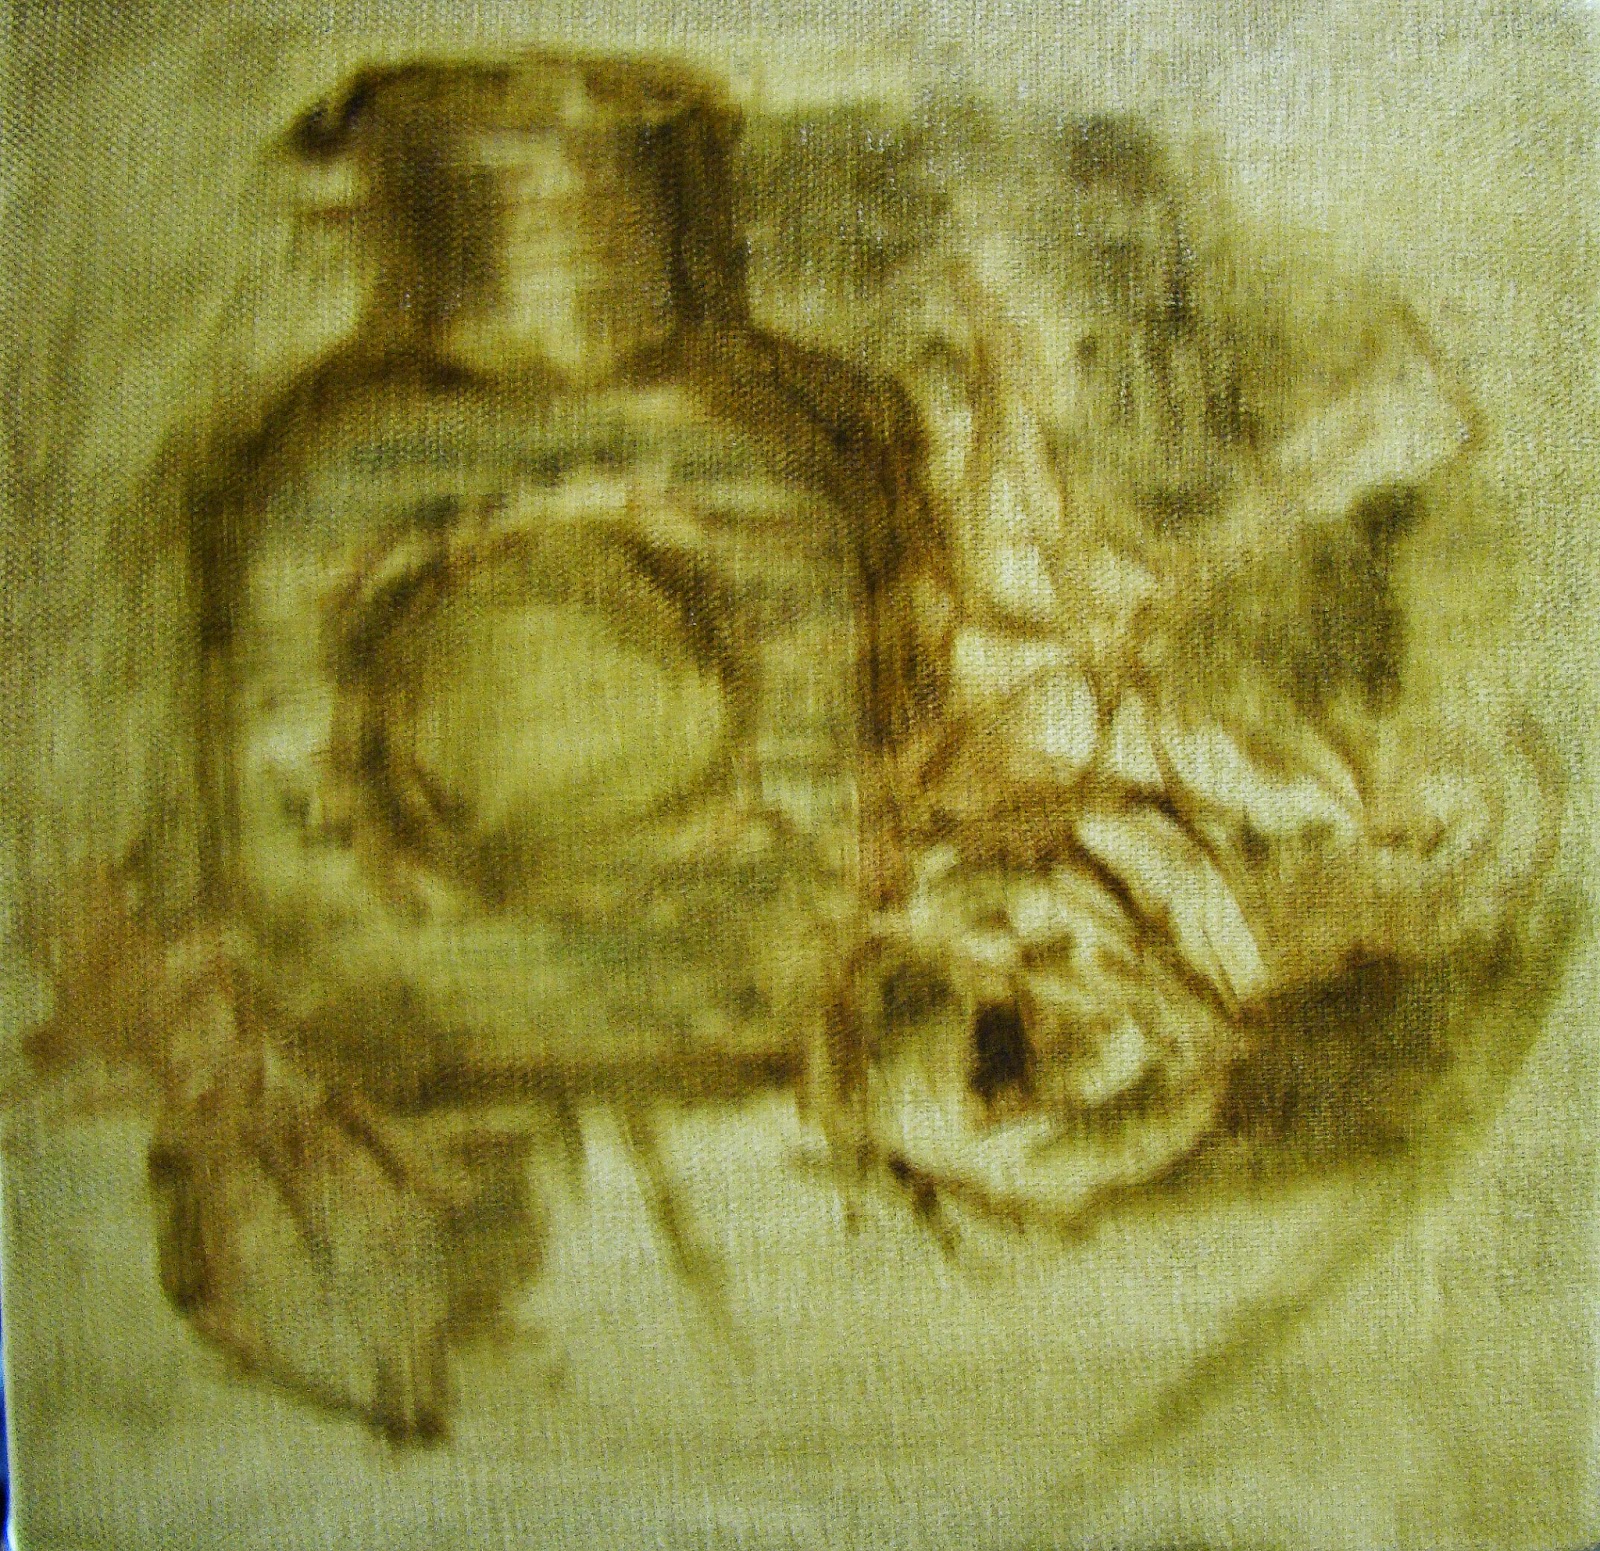
Massing In
The block in of masses only suggesting a few details to be sure I was going to stay with it. This took about an hour to decides what objects to use that I had laying around the studio. Nothing new, this process is the same as most any artist you might run into.

I do tone my canvas when working this way, and my palette is toned to approximately the same value making it easier to judge the mixtures.


Getting the canvas covered.
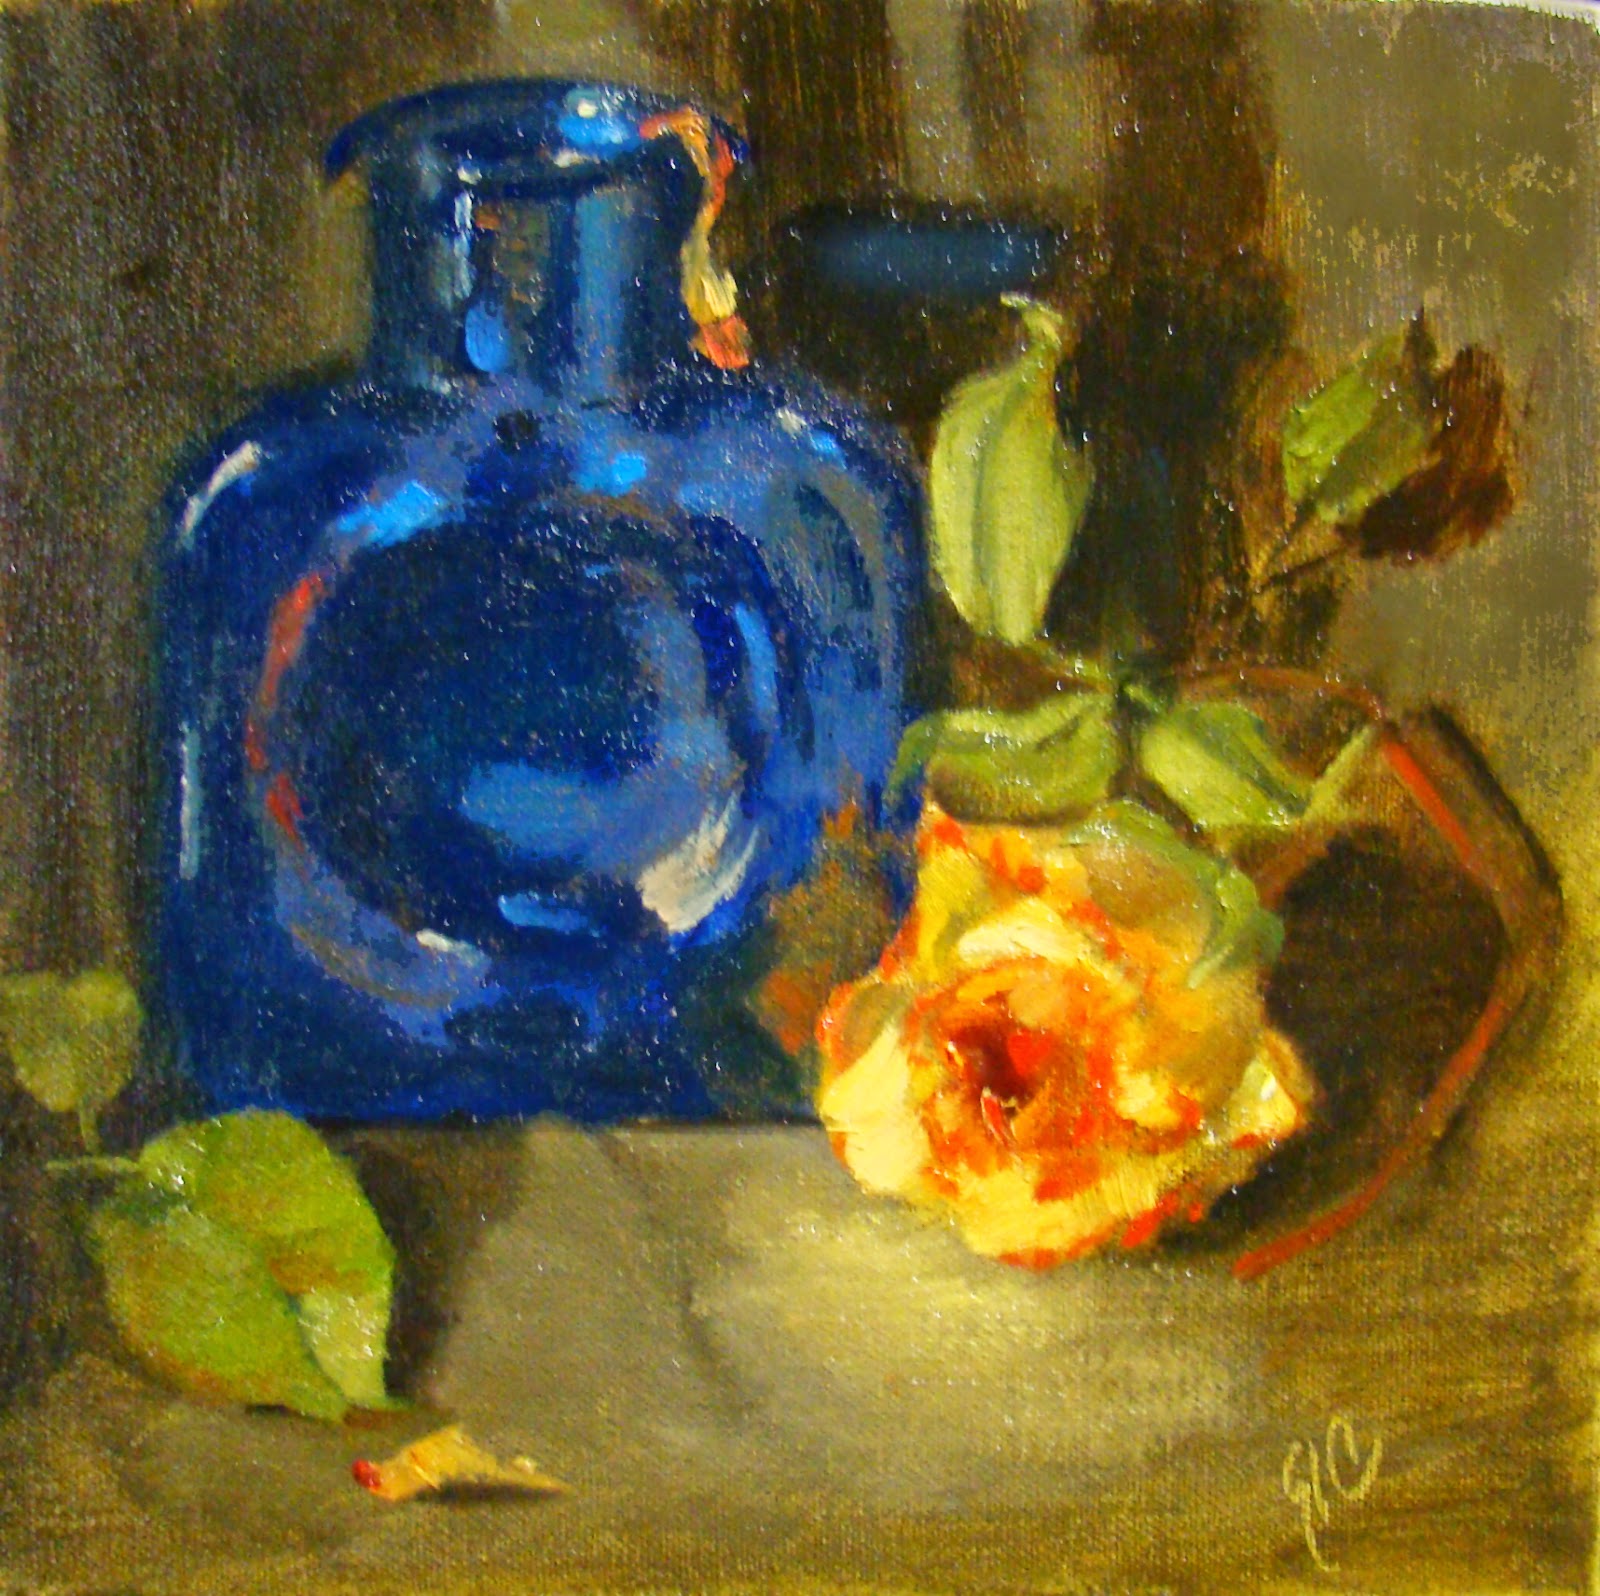
Then always working towards the finish and painting more slowly so I felt more confident about the value and color of each paint stroke. This took about 1.5 hours with a few breaks to judge what I was doing from a distance.

Looking in a mirror at the reverse to be sure it didn't look too 'wonky', and was really content in the process.

BTW, I wanted the rose to glow...


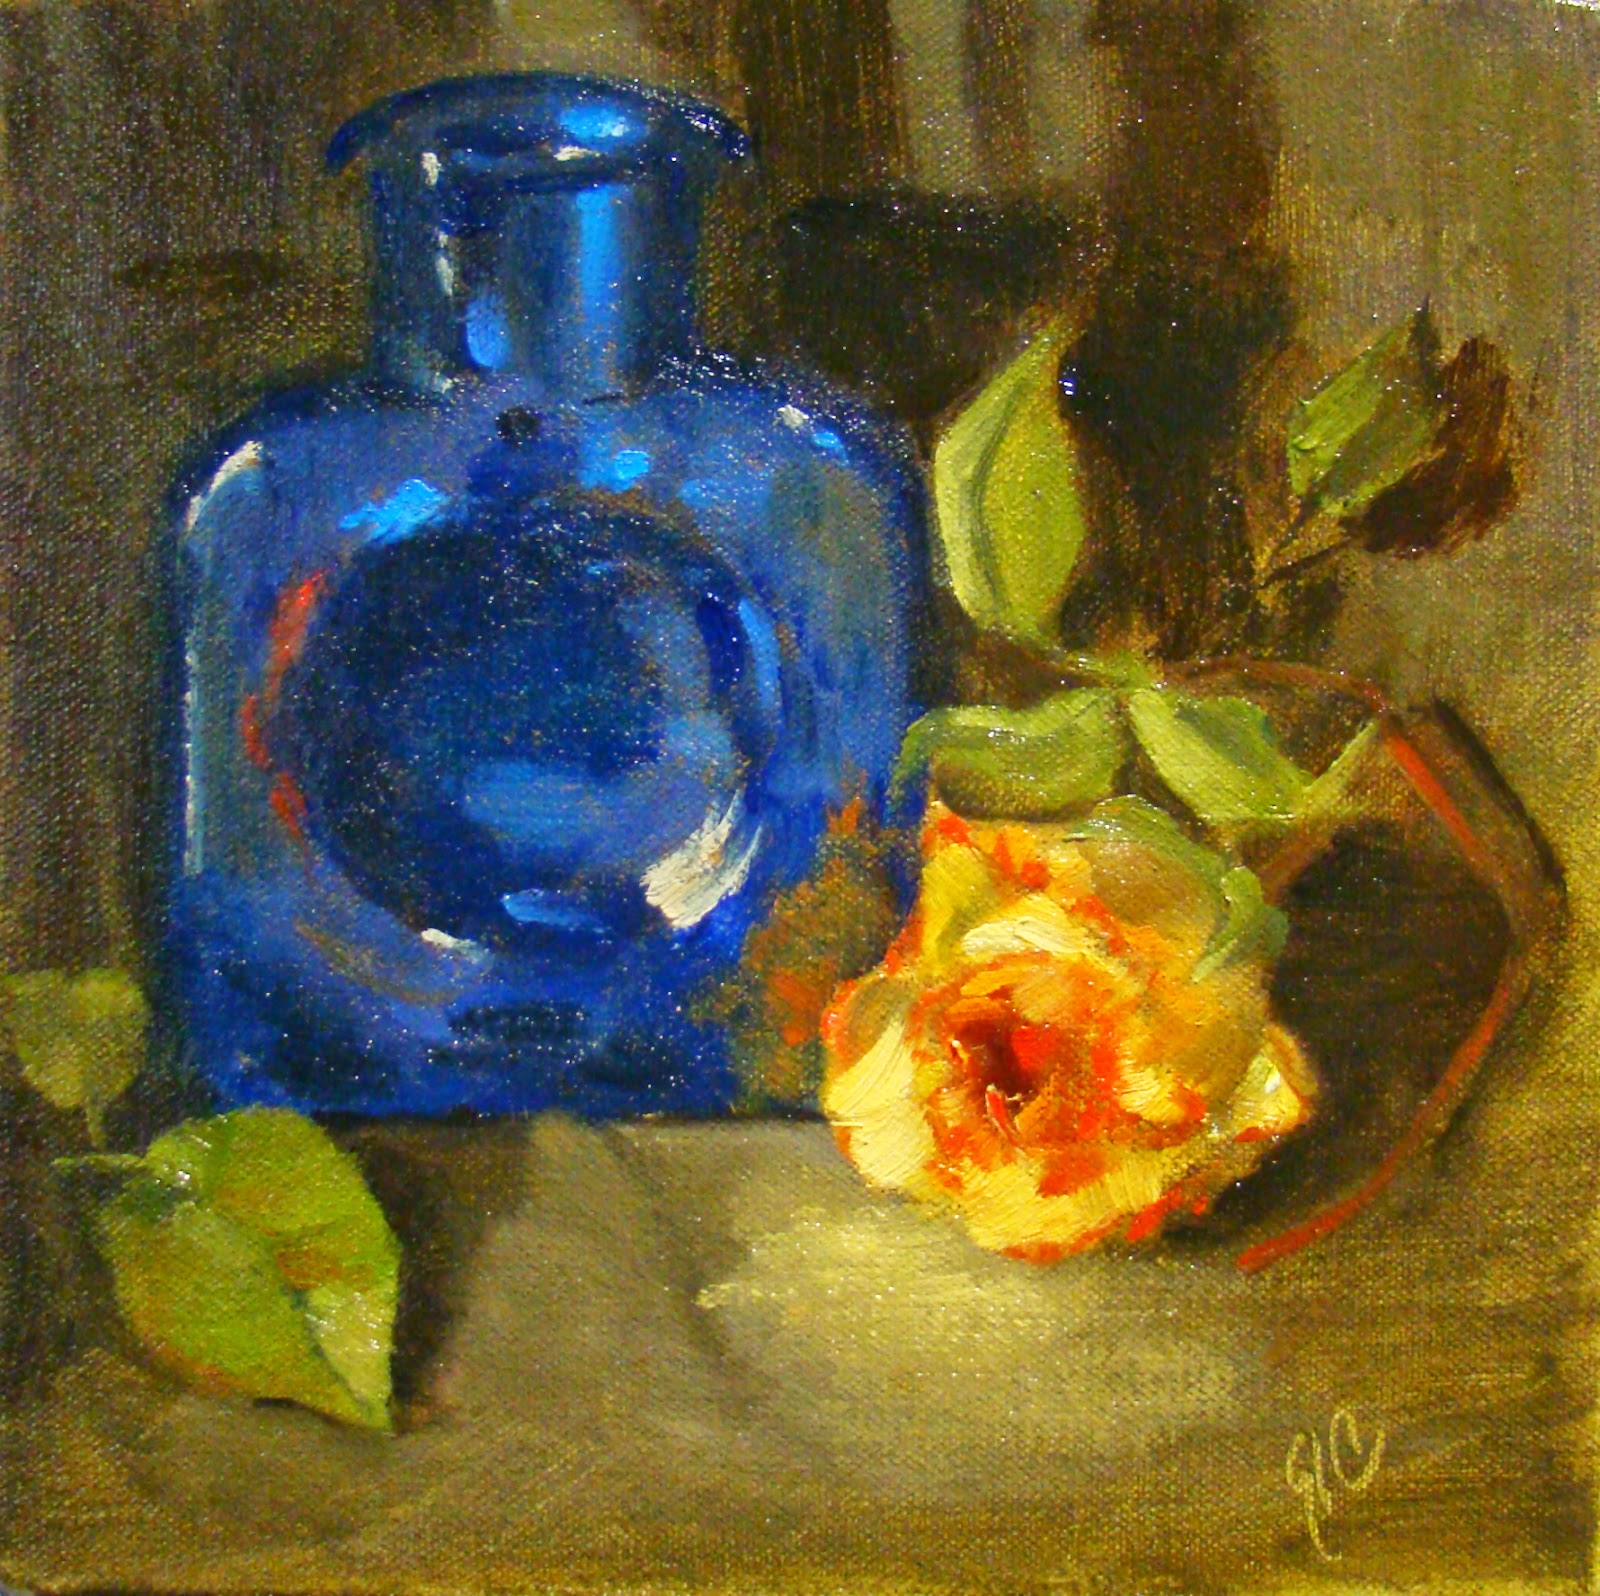
Final Touches
8 x 8 Oil on Stretched Canvas
©2015
After about an hour I went back to see what I thought about the overall image and if it was worth keeping. I always do this and sometimes the answer is no and I'll scrape off everything and start over. This one though was going to survive another day. But (always the but)...

I wanted to do a few more touches to help the eye move through the painting so I added bits of orange peel, softened a few edges, and adjusted values and reflections in the blue bottle.

Note: the blue glass bottle is a darker value, less bluish, and less busy looking in the actual painting. Monitors and the online editors tend to change values even when the original photo is almost perfect.

Monday, February 16, 2015

Thoughts on the Structure of Roses... and Artificial Props

This week, I'm interested in a series roses, single blooms in various stages and colors to brighten my easel, and continue to work on values. It is sunny and warm for February here  in the NW, and roses are not yet blooming. So I decided to invest into some study time on the structure of roses. Why you may ask?

Well, I will be using artificial props, and there is something usually 'off' about them. It turns out that most real roses have 5 petals in each whorl, so if you are using artificial/silk blooms to study painting, this may not be what you will see. There are rose species that have 4 petals, but not many, and the number of whorls seems to vary as well.

The green 'thingys' that sit at the base of the bloom are called sepals, and match the number of petals in one whorl, and can be seen surrounding the bud. The sepals protect the buds, and later support the blooms.

The stamens produces pollen (male), and the pistil topped by the stigma (female part) is where the pollen is deposited.

At the end of the season, you might see rose hips, the fruit, depending on species. The actual leaves grow in groups, and I left off the thorns too. ;o)

If you would like more detail, the wikipedia can expand on this information, but for purposes of the artist learning to paint this beautiful flower, this short explanation should suffice and point you in the right direction when using artificial props.

I am not going for a photographic look just because I know the basic parts of the rose, but I think it helps to have some understanding of a painting subject. Both paintings are done on linen sheets.

The first is full bloom and clearly a value study. No mystery there, but with this particular silk prop, the petals are distinctly rolled over a bit as if it is wilted.

I decided to use a bright synthetic brush, size 12, to give a sharper edge to some of the petals rolled edges.

Rose Blk/Wht Study
© 2015

The smaller bloom below did not have the correct number of petals of a live rose, but went for it anyway, and hoped to give it the illusion of a natural rose. Knowing it should have 5 actually was helpful. Used various brushes on this one.

MidBloom Red Rose
© 2015
I have now added some new words to my vocabulary, and I don't have to say 'thingy' anymore when talking about roses!

Thanks for reading and hope this helps if you also need to use artificial props.

Monday, January 26, 2015

30/30 Challenge - Roses - Day 25-26

I've had these silk variegated roses sitting in a pale for at least 3 years, and everytime I think about painting them I resist. It looked like an overwhelming task and I'd tell myself to wait until my skills were better. Well I don't know that my skills are better, but I decided to take them on.

I think I got some courage from something I read about how to approach mixing a desired color. I was taught to 'paint what I see', but I always saw what I couldn't paint because of the limits of paint. Nothing as bright as the sun, and nothing as dark and a black hole...
I never really learned how to actually mix a desired color and wasted lots of paint and failed continuously trying to achieve what I was looking for...

Well recently I read that when looking at a setup, identify the color (keep it simple), red, blue, yellow, etc. Don't try to say orangey grayish purple or some other impossible hue that's clearly not on your palette! So after identifying the hue, then mix for the value of that simple color, and also adjust for temperature... and finally adjust for chroma.

Day 25

I wanted to take time to give this new approach some time since I'm usually just guessing what to do with the mixes. I laid in transparent color to start and identified the light and dark areas of the roses.

This took a bit of time, but I let it sit overnight before making more difficult decisions about color. I did some practice on my palette to be sure I could remember the sequence of mixing.

I was putting in a warm background for contrast to the cooler color in the setup. It's all relative... right?


Day 26

The exercise was not as difficult as I imagined. Could maybe adjust a few more things, but my goal was to try the mixing approach.

I have some practice to do, but this effort using the above approach resulted in colors that I was fairly happy with... after all these are variegated silk roses unlikely to ever be seen in nature!

I will attempt again soon and give a little more attention to the composition and light source for stronger shadow pattern.

Thanks for visiting...

Friday, December 12, 2014

Something about lemons and oil painting...

I don't know why exactly, but lemons are one of the prettiest things to paint. The light and shadow temperatures are easy to see, and harmonize so nicely. I don't even think about the sour pucker power they stimulate at other times. In painting, they just seem beautiful, fresh, and sunny. Must be the color, texture, and smell that I enjoy.

Was working towards a higher keyed painting with this couple... loved the extra little blossom too. Computer insisted on making the background more blue than aqua, but the painting looks quite nice in a gold frame. Might have to hang this one for myself.

Blossom between Two Lemons
8 x 6 Oil on Canvas Panel
® 2014

Monday, September 30, 2013

Still Life - Blue Poppies with Yellow Ribbon

This was started several weeks ago, and just recently finished. I was looking for something simple to paint on a 5 x 7 canvas panel that I had for awhile and thought it should get used. I've got so much 'stuff' in my studio that it's a wonder I can find anything... but that's a discussion for another day.

Blue Poppies with Yellow Ribbon
5 x 7 Oil on Canvas Panel
© 2013
So this is ready to be posted on the last day of the 30 day challenge... I didn't make it everyday this time again, but it did get me painting at least some, and for that I'm grateful.

Along that line of thinking (painting daily), I read a book title 'The ONE Thing' authors Gary Keller and Jay Papasan. It's about achieving extraordinary results (also part of the title). If you are looking for a truthful straightforward read on doing your best at what you love, then I recommend reading this book.

Monday, November 26, 2012

Red Sleigh and White Poinsettia

Red Sleigh and Poinsettia - SOLD
6x6 Oil on Canvas Panel
© 2012
I've been planning to paint a few Christmas images this year and now that Thanksgiving is past, I managed to get one done this week. 

I was kinda blown away by the brightness and warmth of the red sled. Usually green will enhance red, but this red didn't need enhancing... I decided the cooler white in the poinsettia would emphasize just how bright and warm it is.  Merry Christmas!


Sunday, November 18, 2012

Little Grey Pot, Sunflower, Cranberries

While getting the oil changed in my car a few weeks back, I walked over to the Goodwill store. This little pot caught my eye, so I decided to add it to my collection for quick studies. A nice 99 cent moment.


Little Grey Pot, Sunflower, Cranberries
6x8 Oil on Canvas Panel
© 2012

Monday, July 23, 2012

Some Things About Online Auctions

Victorian Rose


The online auction scene has been great as a first step for me to get my work out and seen by as many eyes as possible. The images are small and starting prices have been set low for a couple reasons. One is to keep the art affordable as to entice a sale - so even folks on a small budget can buy an art piece; and also to see how the value is perceived by someone who buys because they really like and want the painting - not just because it is cheap.


However, I learned that getting them seen by people is a puzzle sometimes, and has a lot to do with how it is listed to fit the searches people do.


One of my buyers who is also my biggest fan right now taught me this lesson. She said originally she found me by 'accident' and then put me in her favorites, but shared with me how she did her searches. BIG HELP!!!!


I finally figured out that sometimes using the same words in the title/description as in the search labels and tags is a good way to be found.


If you my dear reader have any other helpful ideas that you'd like to share to get the work in front of more eyes, please let me know.

Sunday, July 08, 2012

Sunflowers - Free Spirits

I think almost all people like something about Sunflowers, myself included. So in my journey to develop my painting skills I decided to try to communicate what I like about Sunflowers. Mostly I they are beautiful. They don't smell so sweet, but love how they are strong and hardy and a bit irregular or playful. Simply a free spirited bloom.


6 x 6 Oil on Canvas Panel
© 2012

I used some scrapping technique on this one to see if I liked the effect. I guess I do since I left some of it in the image. The colors are very vibrant under daylight bulbs. I think it will look nice with either an antique gold or wood tone frame.


Wednesday, May 23, 2012

Two Plus One Pink Tulips

Well I did it! I managed to get another tulips painting done before they had to be thrown away... I like the way this one turned out even thought the flowers were not as fresh.

SOLD

Two Plus One Pink Tulips
6 x 6 Oil on Canvas Panel
© 2012

Wednesday, May 02, 2012

White Rhodie in Warm Light

Found this beautiful Rhodie Bush while walking the dogs. Just had to paint it. Lots of small shapes to discern in the process and wasn't sure it would turn out. Used a warm light and thought it set off the cool shadows very nicely.

Painted mostly with a mongoose angle brush... using a brush shape that resonates with the subject helps get the feel of it. What do you think?

SOLD
 
White Rhodie in Warm Light
6 x 6 Oil on Canvas Panel
© 2012

http://en.wikipedia.org/wiki/Rhododendron